
Love My Concealers : A Guide to Contouring and No Creasing
February 03 2023
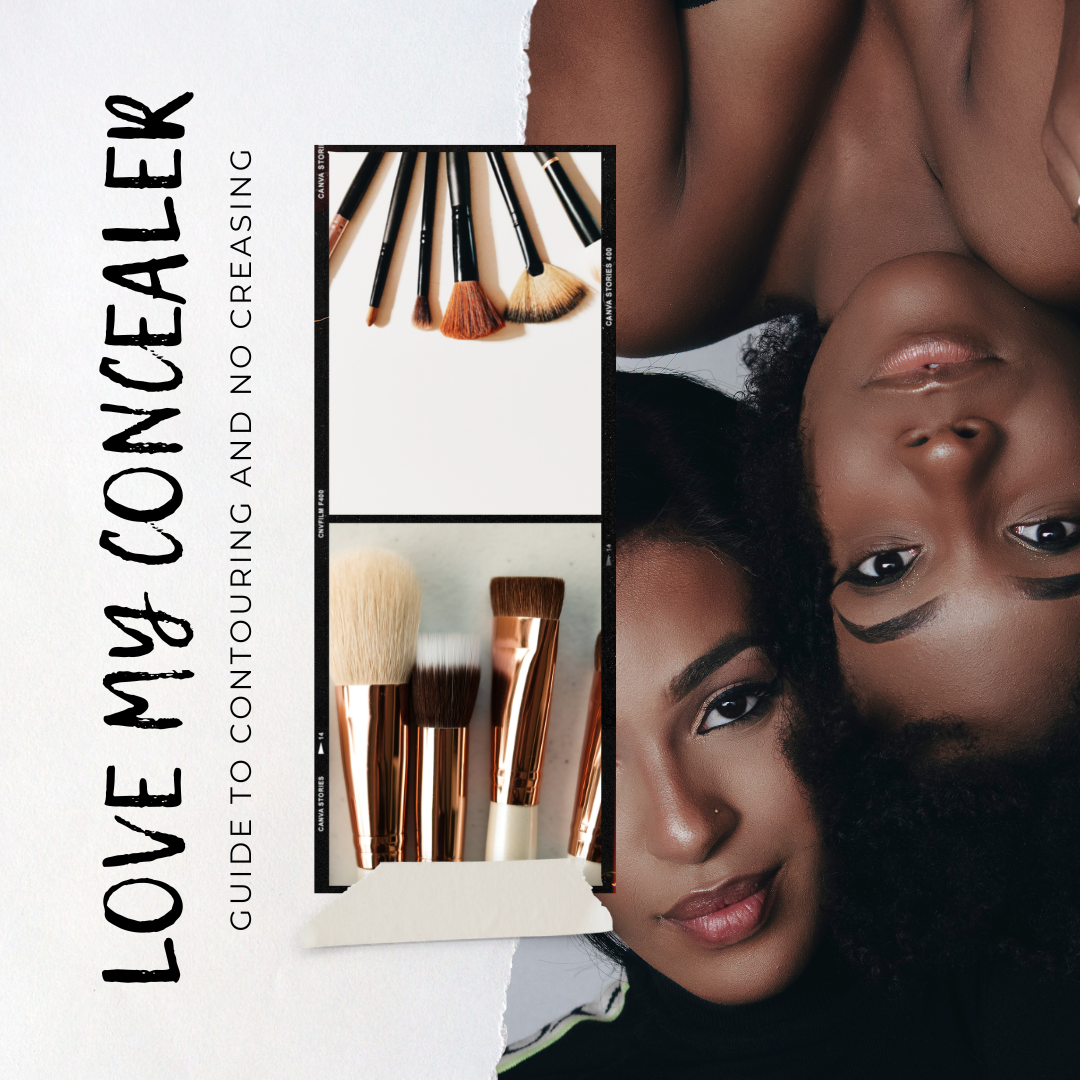
Concealer. Can't live without it and can't live with it (at least not when it's creasing into the lines in our face). Thankfully we've locked in some best practices to keep your concealer staying put AND come up with a simple contour guide so you can get gorgeous dimension and the look of a lifted and younger face.
Different Types of Concealer
Let's talk about the types of concealers. We've basically got two primary types of concealers but the consistencies can range significantly from brand to brand. One one hand we've got cream concealers and the other hand liquid. Some are super thick while others are quite thin.
Pros and Cons of Cream Concealers
- Creams typically blend better because of their consistency
- Usually have better coverage compared to their liquid cousins
- Cream concealers usually have a demi-matte or slightly dewy finish
- Can have a higher likelihood of settling into fine lines
Pros and Cons of Liquid Concealers
- Can be easier to apply in smaller areas of the face
- Have buildable coverage
- Once dry have a matte finish
- Can look powdery or splotchy as the day wears on
Pick Your Formula
You know your skin the best and how it reacts to certain products. No single product is perfect for everyone, nor will it work in the same way. You may find that you like to use a combination of creams and liquids for different areas of the face. As mentioned above, cream concealers are great for blending and often work much better for contouring. Liquids may work better under the eyes. No worries if you're a die-hard cream concealer fan because we've got tips for setting your cream up for success without creasing below.
Application for Contouring and Creating Depth
- Start with a small concealer brush and choose a shade that is two to four shades darker than your base shade.
- Apply a thin line of the product directly above your cheek bones, along the sides of your forehead, underneath your lips, below your jaw line, and alongside the bridge of your nose.
- Take a tightly packed flat or round head brush and start buffing out the cream towards the inside of your face.
Application for Lifting and Brightening
- Take a shade lighter than your base and apply down the bridge of your nose, in the inner and outer corner of your eyes, and underneath your cheekbone.
- Gently blend the light shade into the dark shade, being careful to not overmix.
See Exactly How In This Clip
Setting and Preventing Creasing
If using a cream concealer underneath the eyes:
- Go in lightly with a concealer brush or your fingers. Using your fingers instead of a brush helps to meld the product into the skin.
- Blot before setting. This will help any excess product or lingering oils from settling into fine lines and creases for a more flawless finish overall.
- Wait. Do you lips or brows to allow your concealer to settle. If any excess makeup does settle into the eye creases, remove that with a q-tip and then blend the area out.
- Lightly apply powder underneath they eyes once all excess concealer is removed and blended out. The powder will help absorb any additional oil and help cement the product in place.

0 comments